
Krita Reference Images
Hey there!
Krita, my favorite open source drawing program, has a great feature for using reference images.
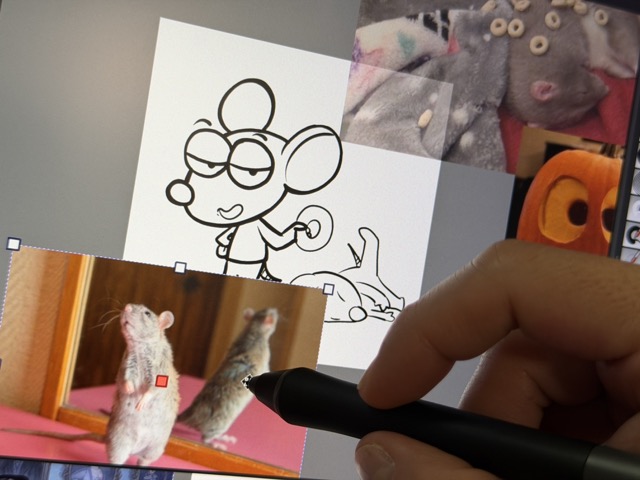
I use tons of reference images when drawing. Before bothering to learn about the reference feature in Krita, I used to just to just have a document open next to my illustration document and would paste the reference images into it. This worked ok, but it was a bit of hassle if I wanted to move the reference really close to my illustration or to keep track of which reference images document went with the illustration I was working on. So, I dug into it and I should have done it earlier!
Enough intro. Here is a summary of the feature:
- Paste and load images into your document without their being part of the final image.
- Arrange them, rotate them, hide them, make them semi-transparent, however you like so you can use them in your illustration
- They’ll be there the next time you open the document
- When you save your document, you can store them with the document or keep the separate (keeps file size small)
- Save and load collections of images as “reference sets”
Let’s get started
Adding a Reference Image
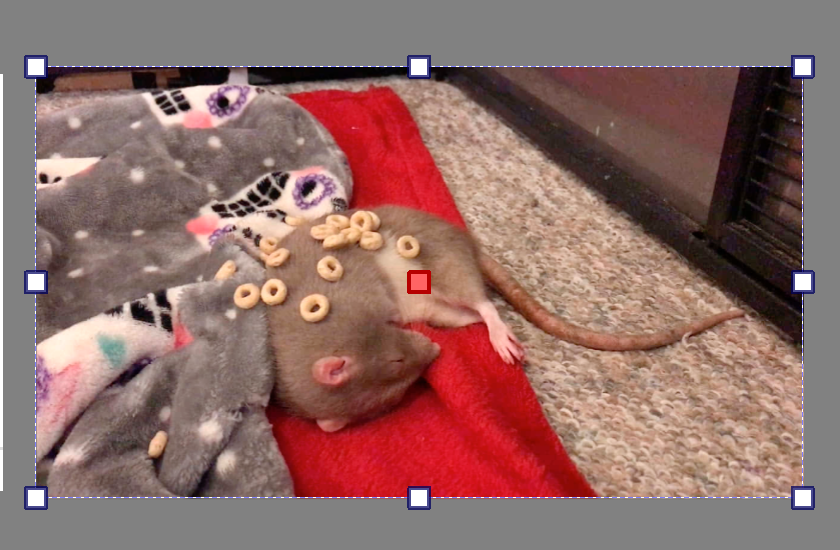
The way I usually work is to Paste reference images into my document.
Go to Edit > Paste as Reference Image
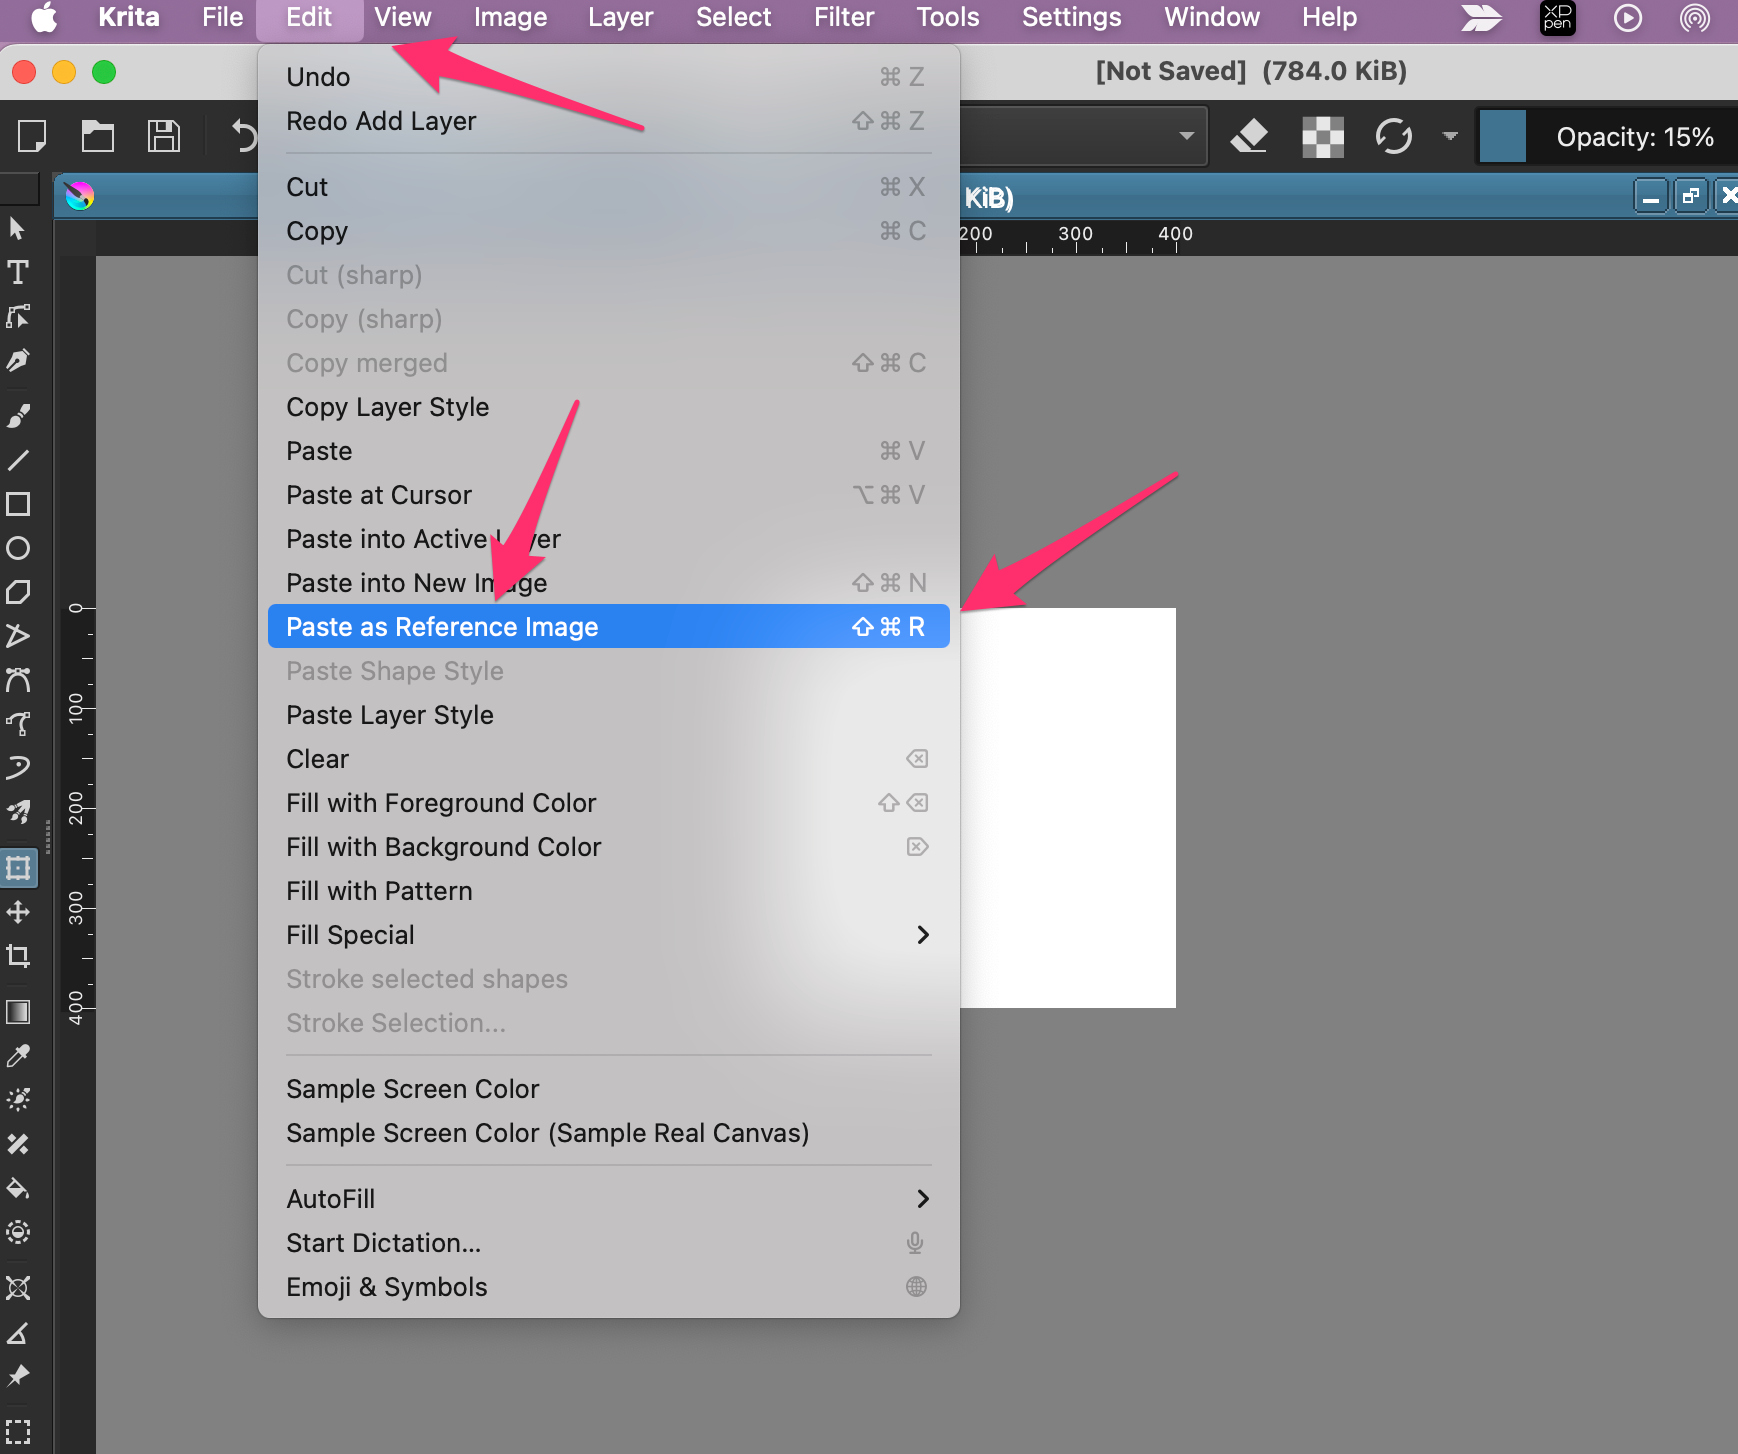
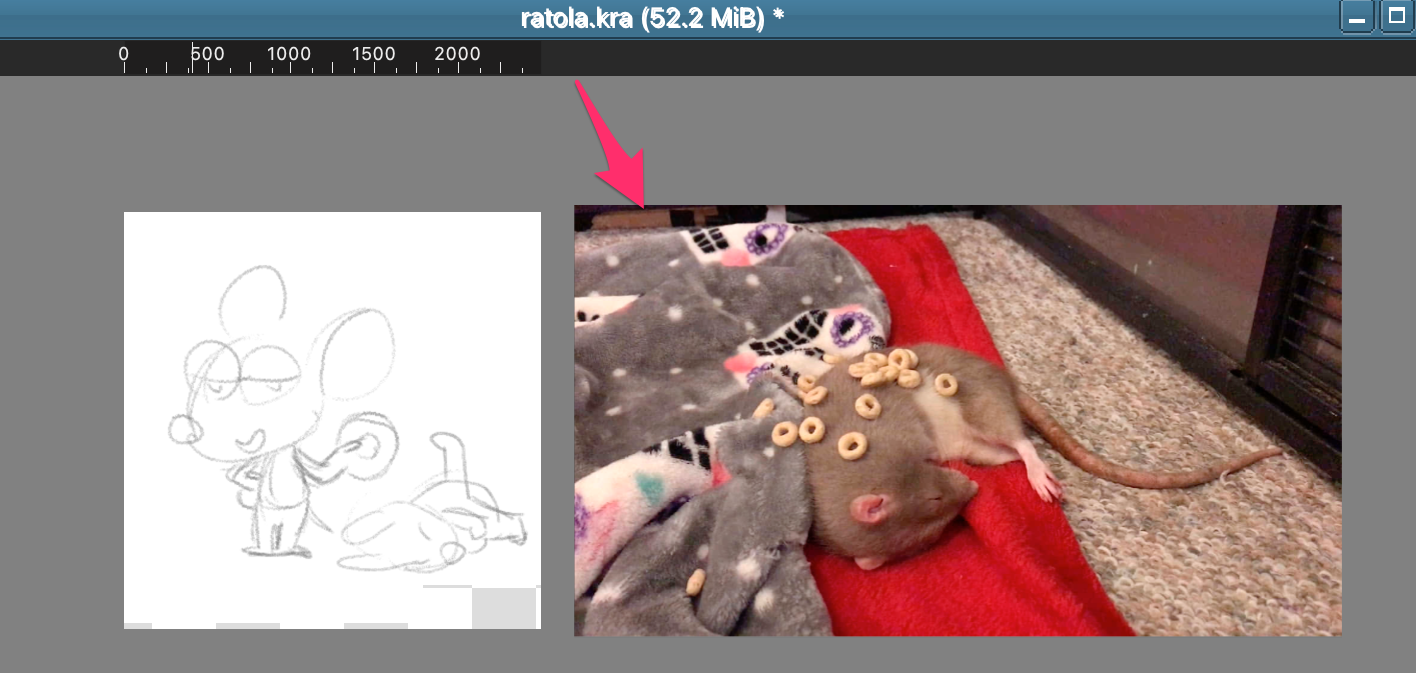
This will “paste” the image into your document …
but notice:
- It is not a layer, so it won’t show up in the final image
- You can move it outside the canvas, so it’s not blocking your workspace
- You can’t paint over it
Once I got comfortable, I memorize the shortcut Shift+Command+R (will be different on other OSes).
Pasting is not the only way; you can load them from your file system too. I’ll show you how later on down because it requires using the Tool Options Panel.
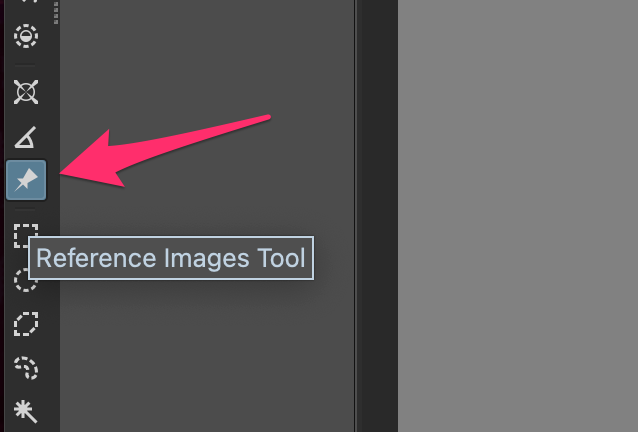
Arranging and Modifying Reference Images
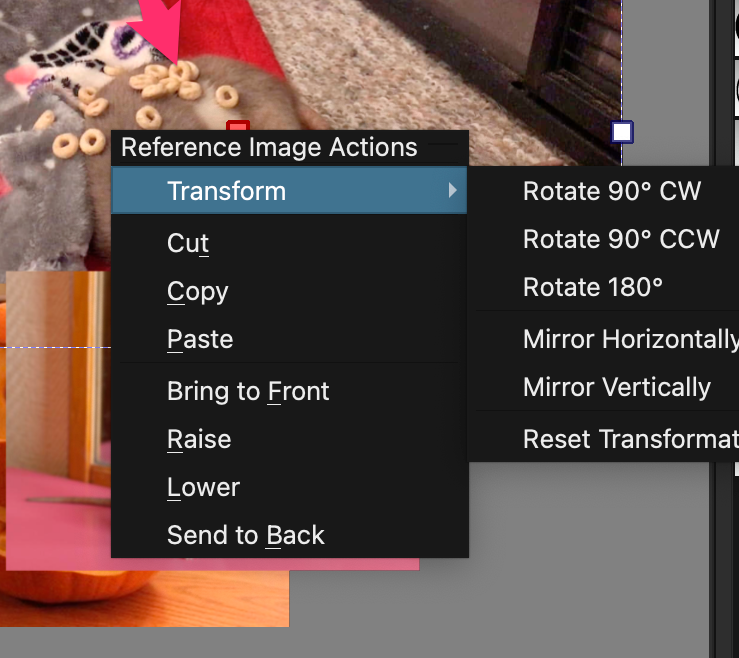
You can rearrange them and do other things by picking the “Reference Image Tool” which looks like a little push pin:
Once you select that tool you can then click on the reference images on your document and they’ll show a selection box and modification widgets:
You can move it around, rotate it, resize it with the handles, sheer it (hover near the middle handle until you get an up and down cursor:

You can arrange images to show up below or above others. While using the Reference Image Tool, right click on a reference image and you’ll get this popup menu:
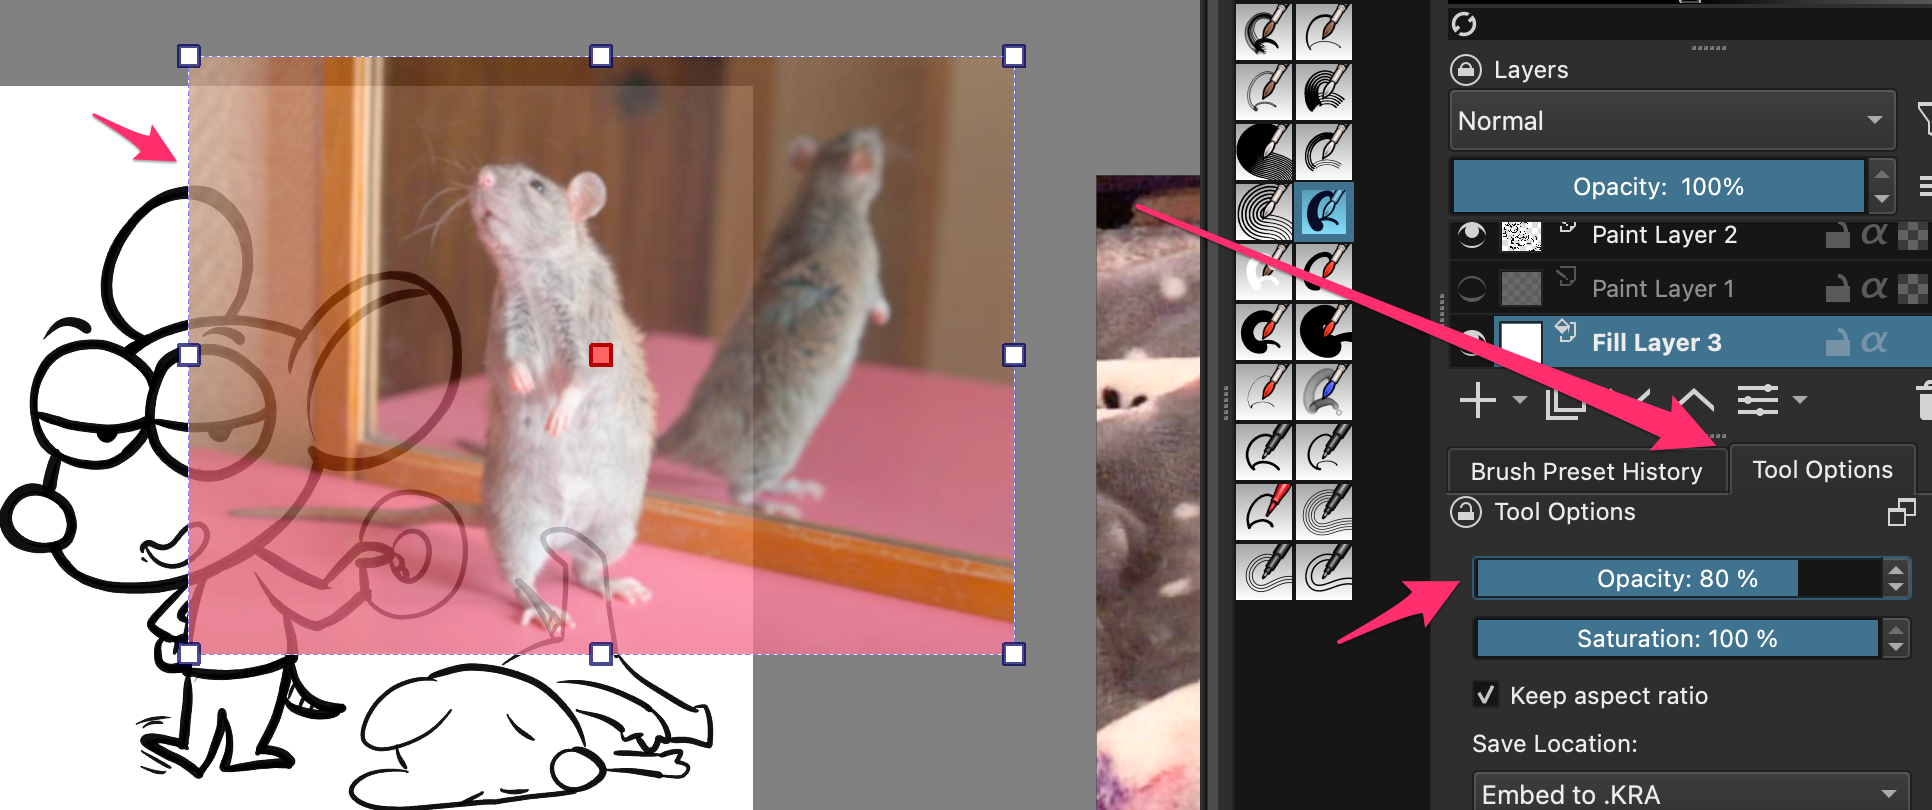
Because you can’t draw over reference images you might have a hard time tracing over something or checking it against your artwork. So, the tool allows you to change the Opacity of the reference image.
First, with the Reference Image Tool, select the reference image you want to modify. Then find the Tool Options docker or click on the Tool Options button on the toolbar (help if you can’t find it). Then modify the Opacity slider. Here’s mine at 80% opacity.
You can also change the saturation, helpful if the image color makes it hard to work with.
Need your workspace uncluttered for a while? Just select View > Show Reference Images and they’ll all toggle on and off.
Loading a File
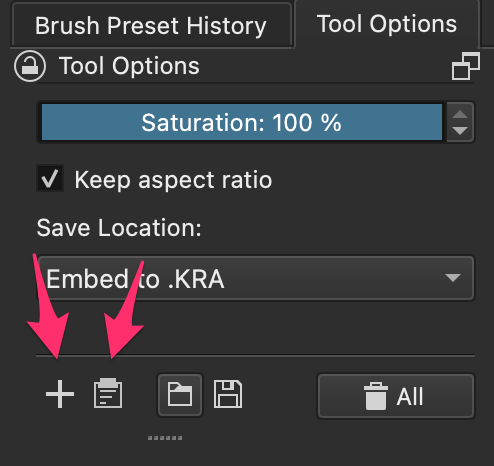
Like I mentioned earlier, pasting is not the only way to import a file for reference. You can also load them, but I left it to this section because you have to do it through the Tool Options panel.
Find your Tool Options panel and look towards the bottom section. You have two buttons: one for pasting (a little clipboard icon) and one for loading (a plus sign). Click on load and you’ll be presented with the file system window so you can go find the file to load.
Reference Image Sets
I keep my reference images in an app called PureRef, but, you can also keep them as packs of Krita Reference Image sets and then just import them all into your current document.
Basically, you can only take the existing set of reference images on your current document and then click the Save button (a little compute disk) or Load (a file folder).
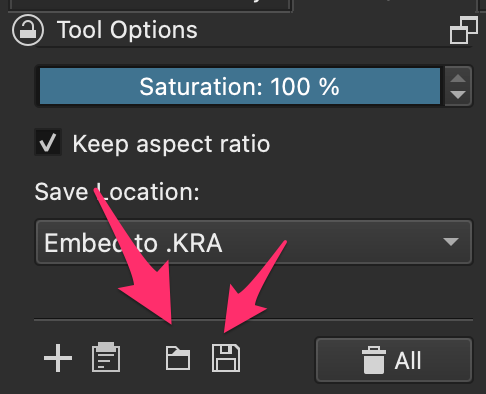
You can’t really pick which images you want in the set or edit the set outside of a Krita document, so it’s not the most flexible option but now you know.
Finally, you can select if you want to store the reference image with your current document or if you want to link to the file that you loaded as a reference image. Embedding means it will literally store the image in the same document you’re editing, so if you have a lot of images the size of your art document can get pretty large. You also can only embed it if you pasted it. However, if you’re going to be sharing the image and you want that other person to be able to see your references, then this is one way to do it.
That’s it! Using the built-in reference image tools in Krita has become an indispensable part of my process; I even have muscle memory of copying from pure ref and then shift+command+r pasting as ref into my document.
Hope you found this helpful.
I made a video about this:
Krita’s own documentation for this feature is here: https://docs.krita.org/en/reference_manual/tools/reference_images_tool.html
Notes
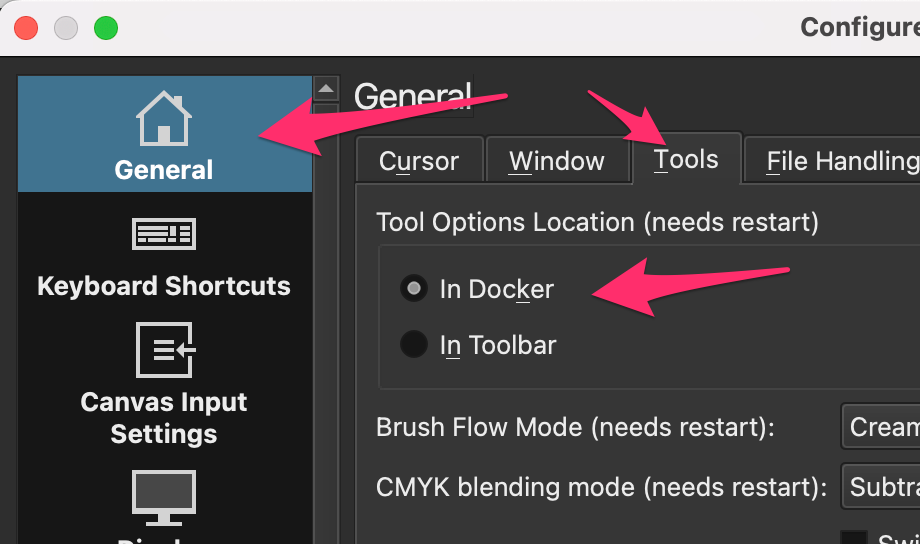
Help! I can’t find the Tool Options Panel
The Tool Options panel is a dynamic panel that shows you extended options for the currently selected tool. In earlier versions of Krita it was a “docker” you could dock into any panel around your workspace. In later versions, it became a button in the toolbar. But, I like having it open as a docker because I often access things on it like the stabilizer and I don’t like having to click twice. You can turn it on by going to Krita > Preferences > General > Tools > Tool Options Location


2 Comments
Kathy Murdoch
@blog It's one of my favourite Krita features, one of the things I really miss when I'm using CSP instead for any reason.
Another nice thing about it is that the images can be shrunk down without getting pixelated. It's really useful when making pixel art where you'd really zoomed in, because you can keep the higher def references usable.
bob
Ooooh … I hadn’t realized that. You’re right! This works great when you draw in fairly low resolution for a quick sketch and then scale up.